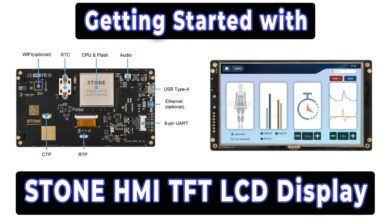
IoT based Thermostat Remote Controller using DWIN TC041C11W04
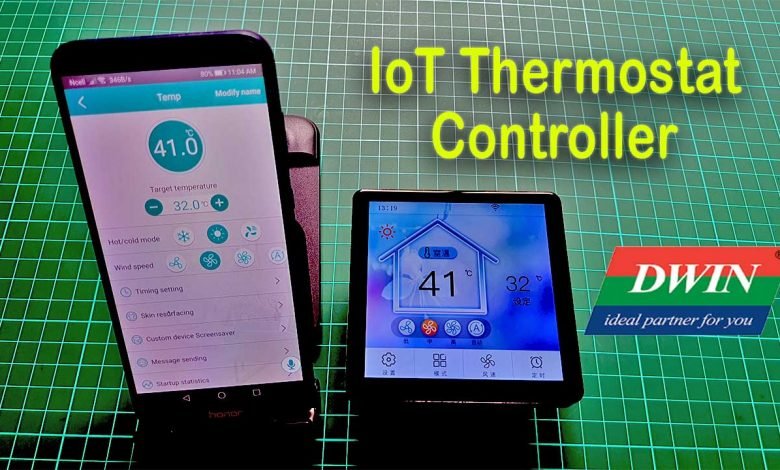
DWIN 4.1 inch IoT Thermostat Controller
Today’s Tutorial is on IoT based Thermostat Remote Controller using DWIN TC041C11W04 Display. DWIN is specialized in making HMI Touch screen displays that are compatible with all microcontrollers like Arduino, STM32, PIC, and 8051 families of Microcontrollers. This is a getting started tutorial on DWIN TC041C11W04 IoT Thermostat controller. So, we will cover everything about this display in this session.
- Overview: DWIN T5L (TC041C11W04) Display
- Hardware Interface of DWIN IoT Thermostat
- Download Firmware file on DWIN LCD using SD Card
- Connect IoT Thermostat Controller with WiFi Network
- Download and Configure DWIN Cloud Application
- Control DWIN (TC041C11W04) Thermostat Controller with Smartphone
- Send Messages from DWIN Cloud to Controller
- Thermostat Additional Configuration
- Conclusion
Temperature-Based Automatic Fan Speed Controller using Arduino
Overview: DWIN T5L (TC041C11W04) Display
Recently I got this Thermostat Controller T5L Touch-Display from the DWIN. The model of the display that I got is TC041C11W04.
- The first letter T means IoT production line code.
- C means Capacitive touch panel.
- 041 means 4 point 1-inch display size.
- C means commercial grade
- 1 means a resolution of a 4-inch display i.e. 480×480 pixels.
- Another 1 means hardware version with wet nodes relay control.
- W means Wi-Fi as a communication method.
- Lastly, 04 means control output nodes supported by this controller.
It has a built-in speaker, temperature sensor, and ESP8266 wifi module for IoT applications.
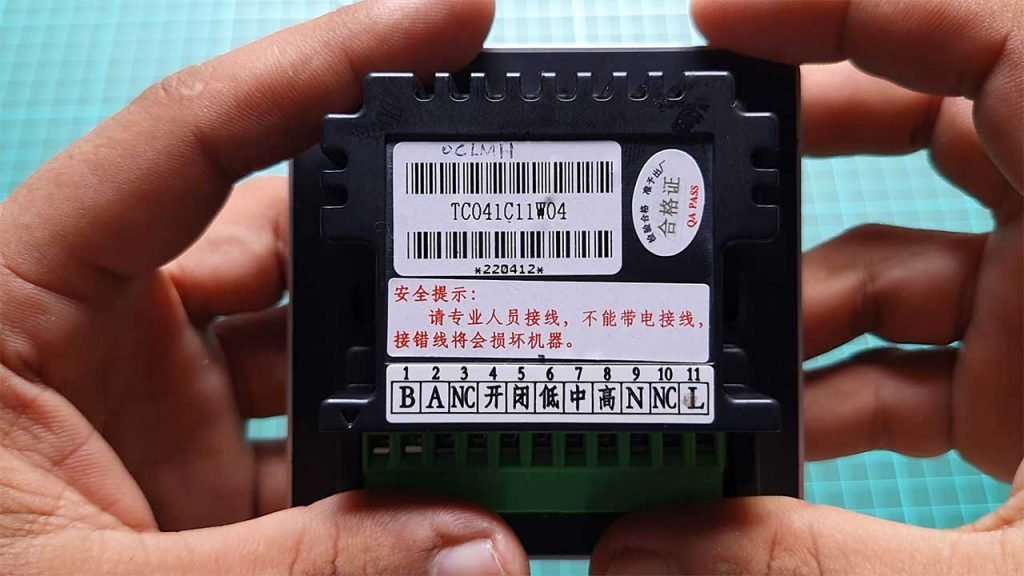
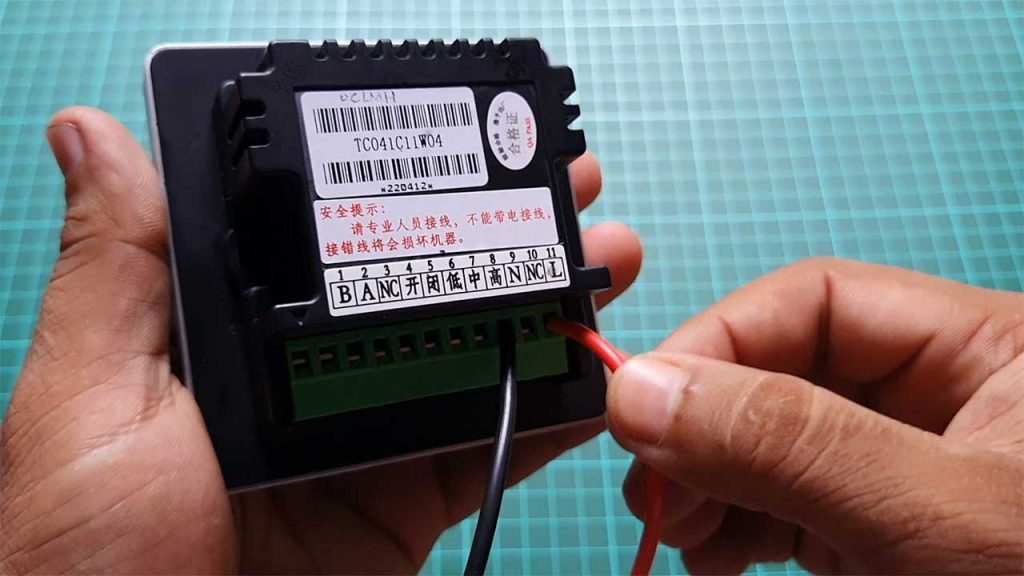
Here you can see this thermostat controller has 11 pins on its back panel.
- Pin 1(B) and Pin 2(A) are for RS485 minus(-) and RS485 plus(+) interface.
- Pin 3 (NC) is not a defined pin.
- Pin 4 is Normally Open AC output.
- Pin 5 is Normally closed AC output.
- Pin 6,7,8 are Low, Medium, and High AC output pins respectively.
- Pin 9 is a Neutral (Negative) power input pin.
- Pin 10 is NC not defined pin.
- Finally, pin 11 is Phase (positive) power input pin.
The working voltage of this controller is 220V AC.
Order Your DWIN TC041C11W04 Display
You can order any LCD Screen of your choice from https://www.aliexpress.com/
You can use this coupon DWINFERDINAN to get a discount
PCB Designing & Ordering Online
This tutorial is sponsored by PCBWay.com. PCBWay.com is a one-stop solution for all your PCB needs like PCB prototyping, SMD stencils, PCB assembly, etc. currently, they are offering 10 pieces of 2 layered PCB at just 5 dollars. PCBWay provides high-quality material TG150-160 but keeps the same price with TG 130-140.

They also have a free signup bonus for new users.
So, get your first prototype PCB ready from pcbway.com, the link is provided below.
Hardware Interface of DWIN IoT Thermostat
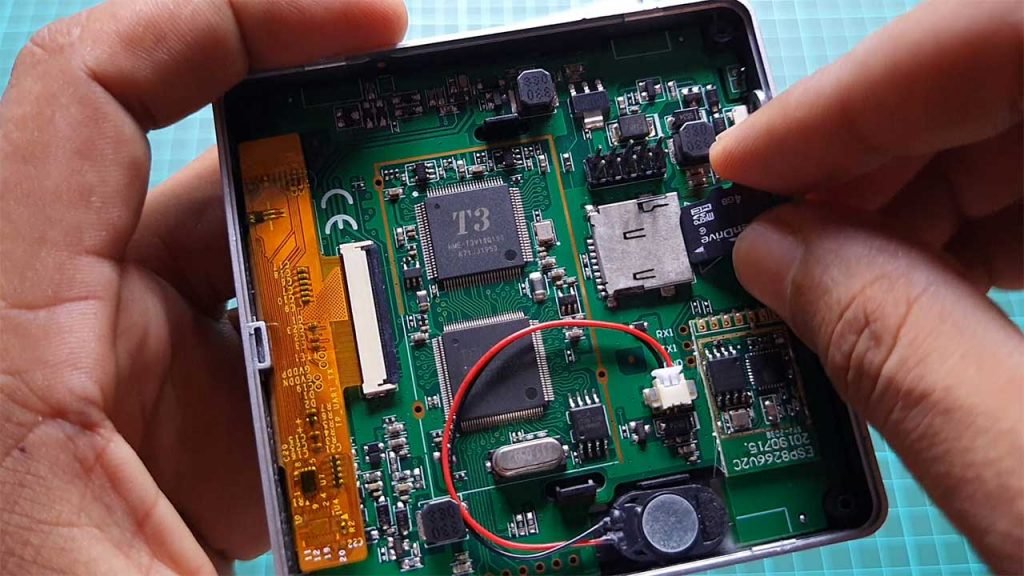
Now let’s quickly disassemble its parts to see the hardware parts of this LCD.
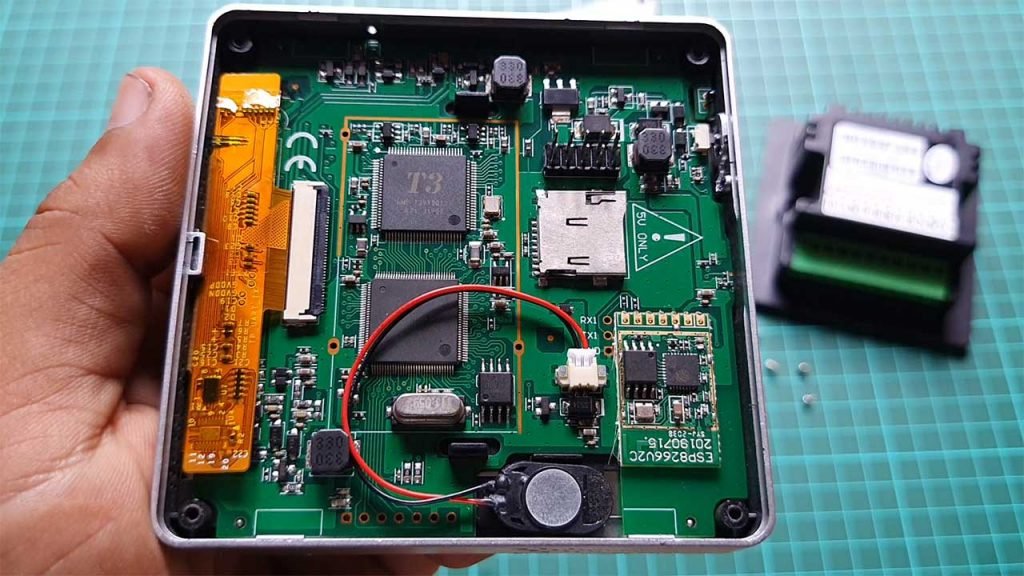
Here we can see a small temperature sensor, ESP8266 wifi module, SD Card slot, small speaker, T5L0 ASIC interface, LCM interface, and RS485 interface.
Now let’s power this LCD with a 220V AC power supply.
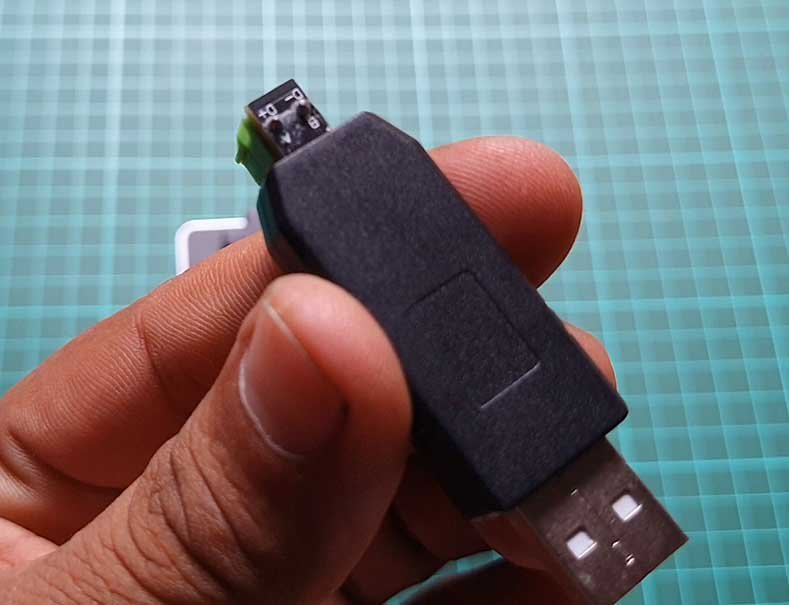
You can also use this type of USB to RS485 module to connect this thermostat controller with your PC.
This is the factory demo of this controller which is in Chinese. You can see here every this except numbers are displayed in the Chinese language.
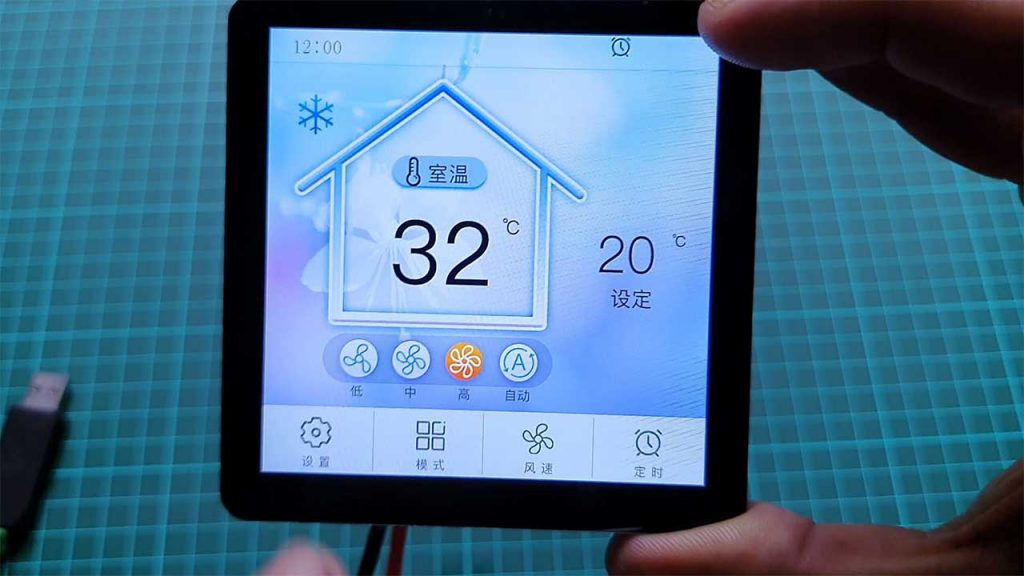
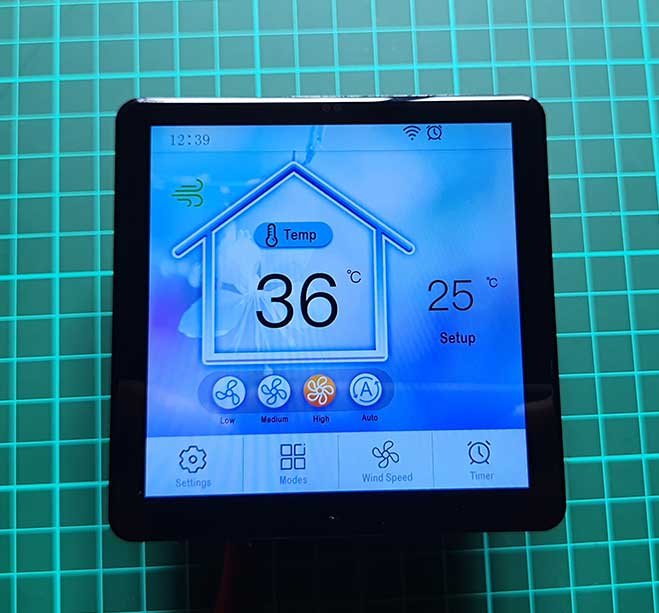
So. I have rebuilt this firmware in the English version. So everyone can easily use this controller easily.
All the necessary tools and firmware files are provided below.
Download Firmware file on DWIN LCD using SD Card
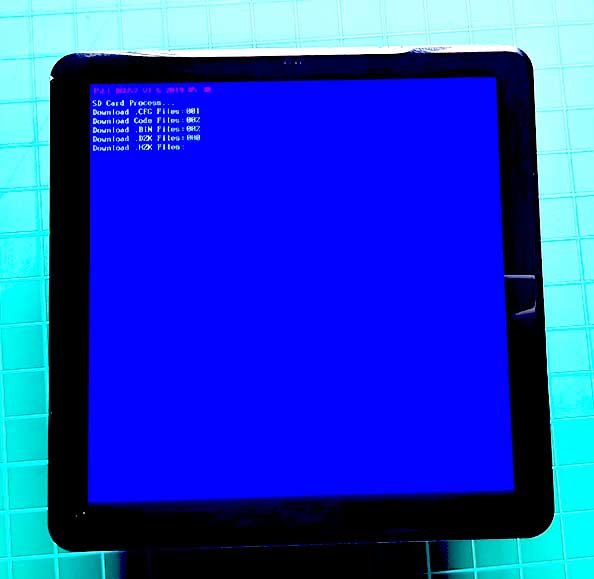
Now, let’s quickly copy this DWIN_SET folder to your SD Card. But make sure that your SD Card is formatted in the FAT32 File system.
Now, Insert the SD Card into the SD Card slot of this LCD. Provide the power supply to download the firmware to your LCD.
If you are new to this and wanna know more about how to build and design your own UI for DWIN Display then read our detailed tutorial on getting started with DWIN Display and DGUS Software.
Connect IoT Thermostat Controller with WiFi Network
Now let’s connect this IoT Thermostat controller with our WiFi Network.
- For that click on settings
- Then click on Wireless Settings
- Then click on the wifi setting
- Now click on configure WiFi
Here you need to enter your WiFi name in the Network name and password in the network password field of your WiFi.
Now click on the Click to connect button. As soon as wifi gets connected you can see the connection status here. You can see the wifi icon on the home screen in the notification panel area.
Download and Configure DWIN Cloud Application
To download and configure the DWIN Cloud application on your smartphone.
- Go to settings
- Click on Wireless Settings
- Then click on the network QR Code
- Open any QR code scanner app on your smartphone then scan the QR Code to download the Dwin Cloud Apk file.
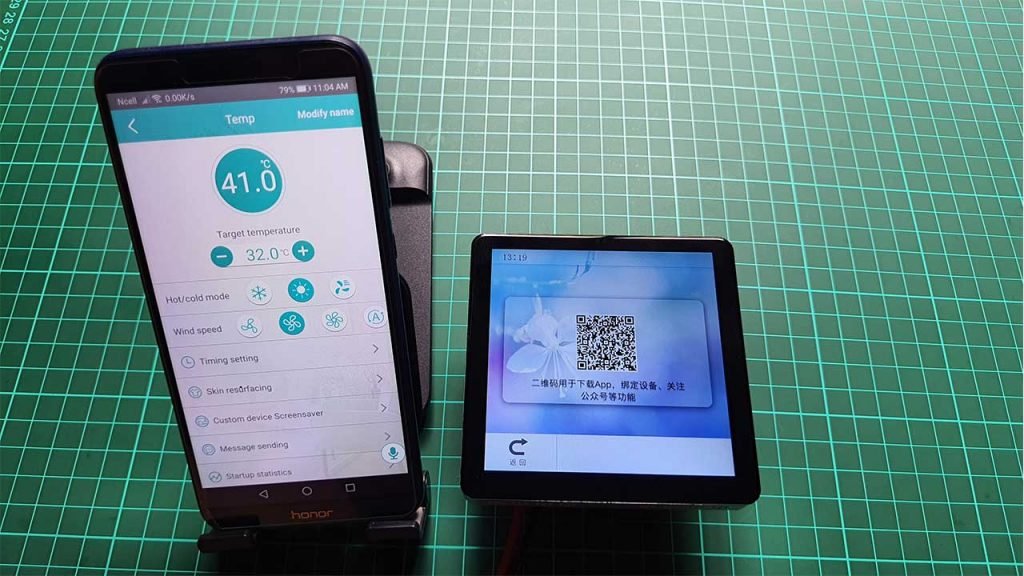
Now install that Downloaded apk file on your smartphone. From here you can select your language. Here I am choosing English. You can quickly Signup with your Gmail account and then sign in to get into the dwin cloud dashboard.
Here you need to add your device to this dwin cloud dashboard. Click on the plus icon in the upper left corner then select the scan code option. Then scan your device QR Code to add your device.
Now you can see the device listed on your screen. Just click on the device name to control your settings.
Control DWIN (TC041C11W04) Thermostat Controller with Smartphone
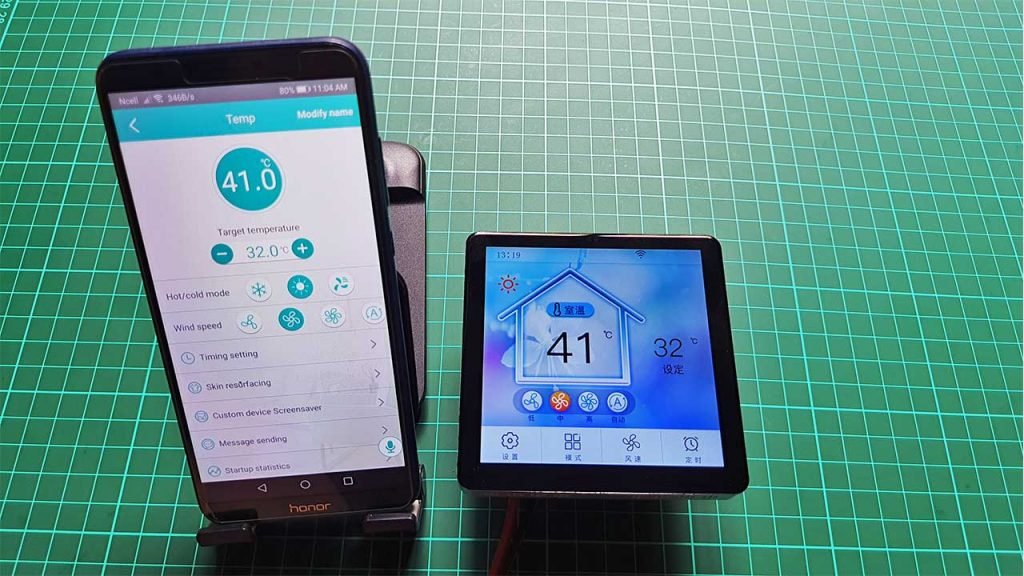
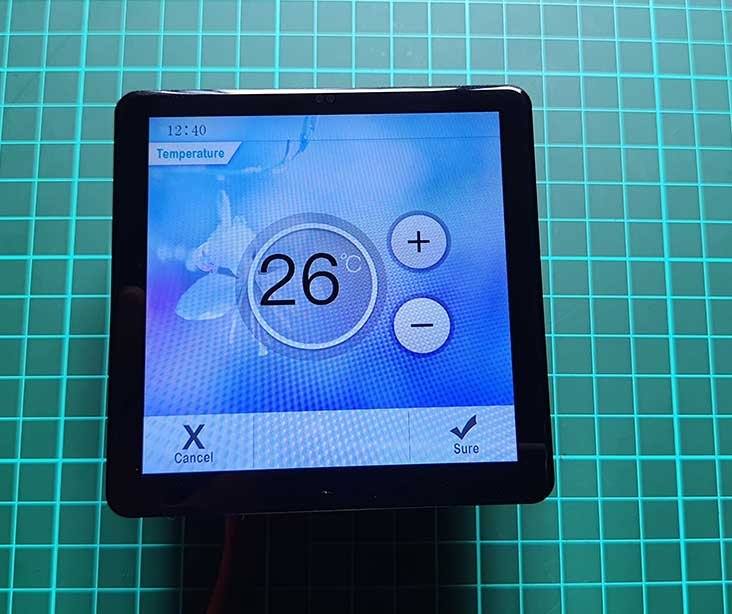
You can click on the plus icon to increase the temperature threshold value. Similarly, click on the minus icon to decrease the value.
You can also adjust these values from LCD by clicking on the setup icon.
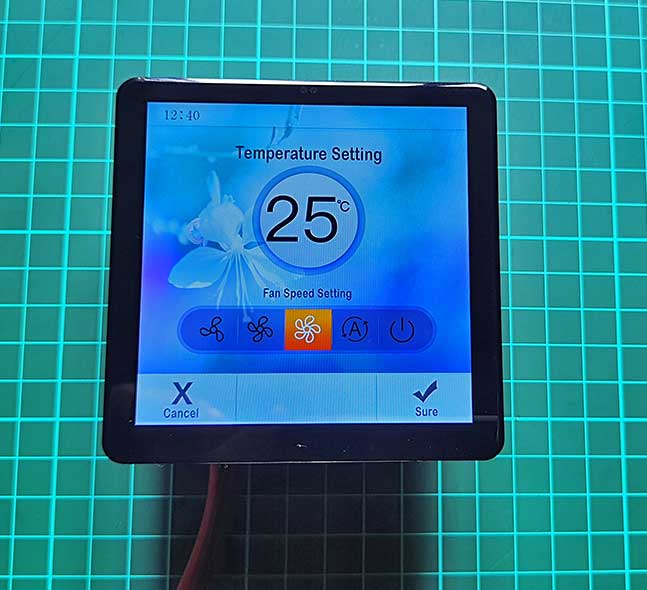
Select your Cold, Hot, and Wind mode from the application as well as from LCD Screen by tapping on Modes.
Then it allows you to set the wind speed according to your needs from the cloud app as well as the DWIN LCD Display.
You can configure your own timing settings, Time Interval settings, etc.
You can make this smart controller system to run automatically based on user settings.
Here you can get the same settings on your Display as well.
You can change screen saver images from this setting.
Send Messages from DWIN Cloud to Controller
The best part of this cloud platform is you can send messages to your device and control its settings remotely from anywhere in the world.
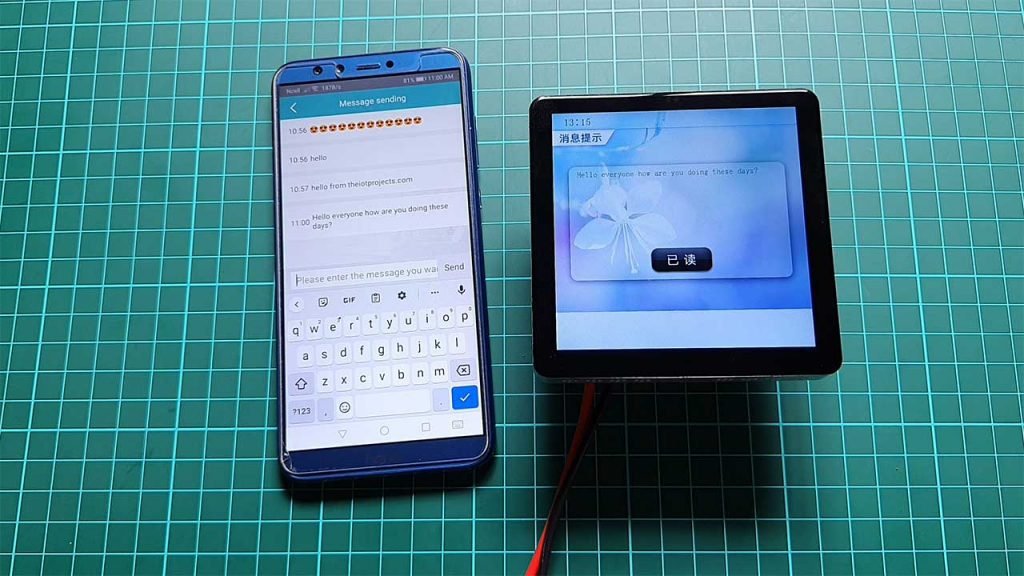
As soon as you send the messages you can see a message icon on the notification area just click on it to see your message received.
Thermostat Additional Configuration
- You can also set the time by clicking on the top right corner.
- You can change the screen brightness from its settings. This screen has a brightness of 250 nits which is also quite impressive.
- In additional settings, you can see the Alarm settings where you can choose different tones as well.
- Here you can see the screen saver settings. You can choose three different modes. Temperature, Photo, and Clock.
- You can start the screen saver after 1-minute of an ideal screen or 5 Minutes.
- If you made some mistake on its settings you can restore settings to your factory default from here.
The device connected to the dwin cloud is also connected to the smart voice assistant platform. Which can quickly realize smart voice control.
Conclusion
So that’s all about the IoT based Thermostat Remote Controller using DWIN TC041C11W04. This is a complete smart temperature control system. Hope you like this tutorial. You can subscribe to our youtube channel so you will not miss any future updates from our channel.