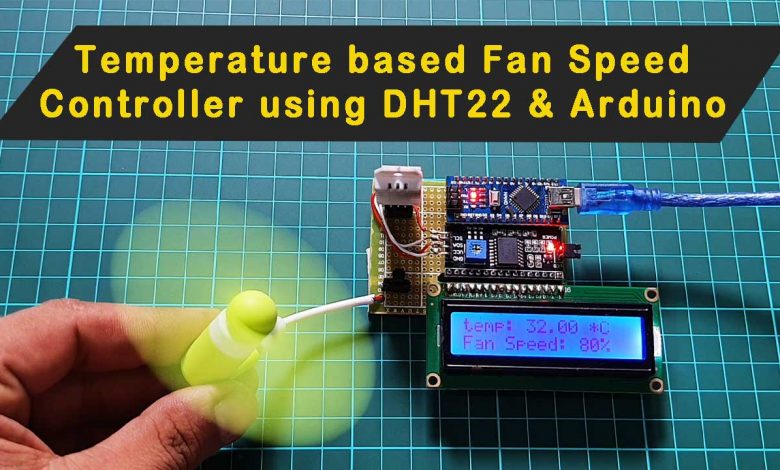
Temperature Based Automatic Fan Speed Controller using Arduino
Temperature Controlled Fan using Arduino
Overview: Temperature based Automatic fan speed controller & Monitoring system
In this tutorial, I will show you how to make a temperature-based automatic fan speed controller using Arduino. It is a very useful project and has a wide range of applications. A temperature controlling system is required in different places like server rooms, industries, houses, etc.
So this basic project can be very useful in understanding how we can control the temperature of a room at your home. You can also take this as a DIY project which has a wide range of use. Because this is an automatic fan speed controller that will act to the temperature changes.
We also have an IoT-based Temperature controlled fan project, if you are interested feel free to read that as well to understand more about these types of projects & sensors.
Components Required
In this project, we will discuss making Temperature Based Automatic Fan Speed Controller using Arduino. With this simple circuit, we will be able to change the speed of the fan in our home or any place according to the room temperature. We will also monitor the temperature and fan speed changes on a 16×2 LCD display. To do this we will be using an Arduino UNO Board, LCD, DHT22 sensor Module, and DC fan.
| S.N | Components Name | Quantity | |
|---|---|---|---|
| 1 | Arduino Nano | 1 | https://amzn.to/2Ym97CW |
| 2 | DHT22 Temperature & Humidity Sensor | 1 | https://amzn.to/3GfRV3D |
| 3 | 16x2 I2C LCD Display | 1 | https://amzn.to/3lwNg4O |
| 4 | 2N2222 Transistor | 1 | https://amzn.to/3m4HZBY |
| 6 | Few jumpers wires | 20 | https://amzn.to/3klh0A4 |
We are going to use a DHT22 temperature and humidity sensor. You can use the DHT11 sensor as well. DHT11 is a cost–effective sensor but the DHT22 sensor readings are more accurate. You can also use a thermistor to get the temperature value. While thermistors usually need contact with the surface and contactless sensors are very costly.
How does it Work?
The working of this project is divided into three parts:
In the first part, the DHT22 sensor senses the surrounding temperature and humidity.
In the second part, the sensor’s output is taken and the temperature value is converted to the Celsius scale. Similarly, We have programmed our Arduino to generate PWM and put it at the base terminal of the transistor. then finally the transistor generates voltage with respect to the PWM value. Hence the fan speed is controlled by using PWM signals. Likewise, the last part of the system shows the temperature and fan speed on LCD Display.
Please refer to the below table. It gives you an idea of what PWM value will be the speed of the fan. You can change values according to your needs in the coding part.
| Temperature | Duty Cycle | PWM Value | Fan Speed |
| Less than 28 | 0% | 0 | OFF |
| 28 | 20% | 51 | 20% |
| 29 | 40% | 102 | 40% |
| 30 | 60% | 153 | 60% |
| 31 | 80% | 204 | 80% |
| Greater than 32 | 100% | 255 | 100% |
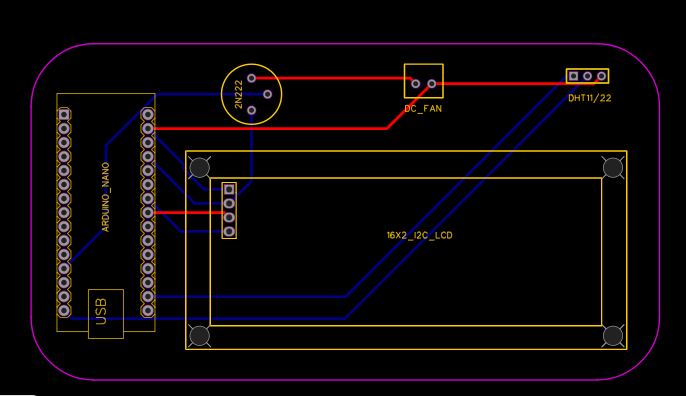
Circuit Connection: Temperature Controlled Fan
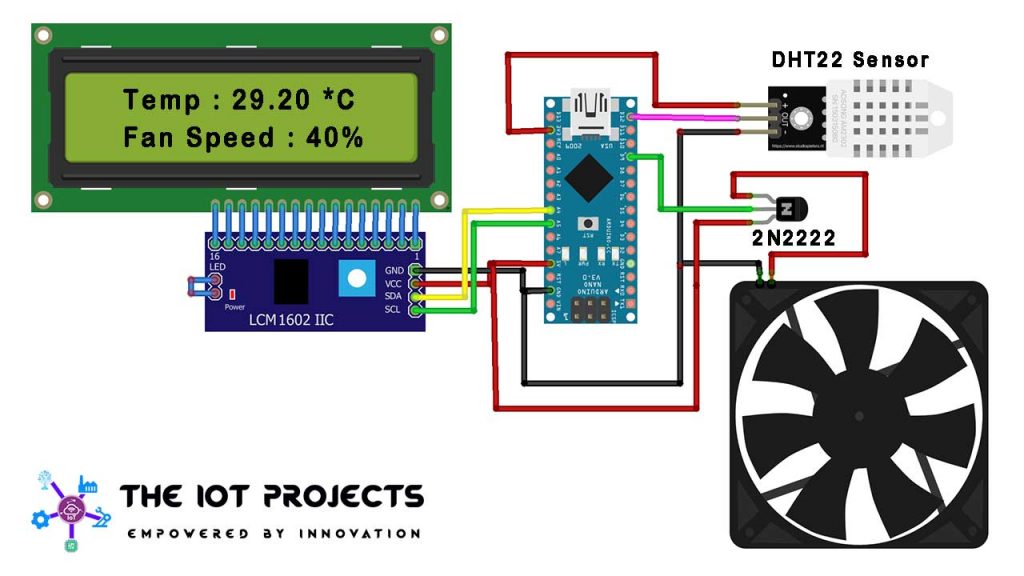
The circuit connections of Temperature Based Automatic Fan Speed Controller using Arduino is very easy. Here 16×2 I2C LCD is directly interfaced to Arduino using A4 and A5 pins. LCD is used for displaying temperature and Fan speed Status. The DHT22 sensor module is connected to the D12 pin of Arduino. Similarly, the D9 pin is used for controlling fan speed through the 2N2222 NPN transistor.
| Arduino Nano | 16X2 I2C LCD |
| 5V | VCC |
| GND | GND |
| A4 | SDA |
| A5 | SCL |
| Arduino Nano | DHT22 Sensor |
| 3.3V | VCC |
| GND | GND |
| Signal | D12 |
| Arduino Nano | 2N2222 NPN Transistor |
| Fan Vcc | Emitter |
| D9 | Base |
| 5V | Collector |
| GND | Fan GND |
Project PCB Gerber File & PCB Ordering Online
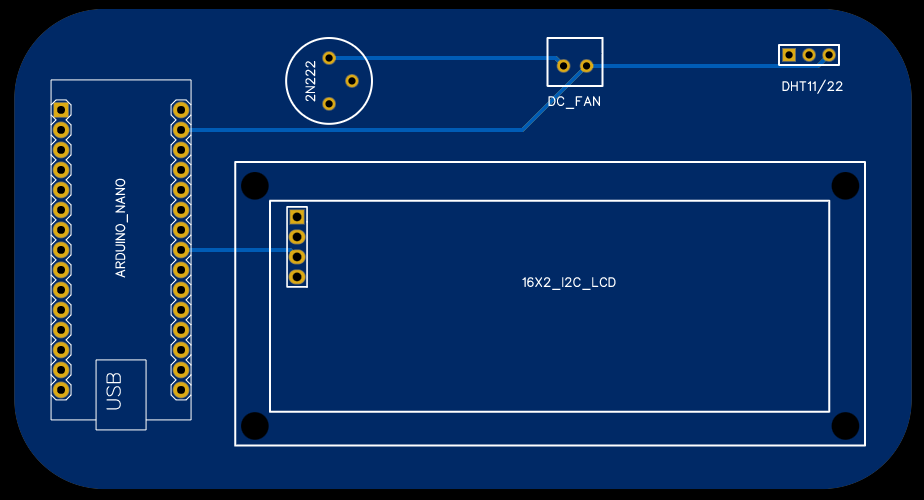
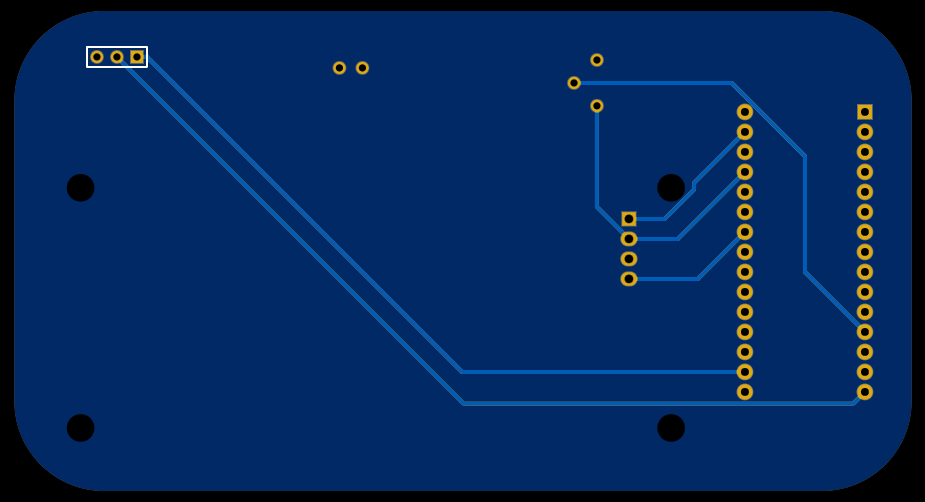
If you don’t want to assemble the circuit on a breadboard and you want PCB for the project, then here is the PCB for you. The PCB Board for Temperature controlled fan is designed using EasyEDA online Circuit Schematics & PCB designing tool. The PCB looks something like below.
The Gerber File for the PCB is given below. You can simply download the Gerber File and order the PCB from https://pcbway.com/
Now you can visit the PCBWay official website by clicking here: PCBWay.com/. So you will be directed to the PCBWay website.

You can now upload the Gerber File to the Website and place an order. The PCB quality is superb & high. That is why most people trust PCBWay for PCB & PCBA Services.
You can assemble the components on the PCB Board.
Program Code
This is a complete program source code for Temperature Based Automatic Fan Speed Controller using Arduino. Before uploading the code, please refer to the PWM and Speed table above. Comment the DHT22 line and uncomment DHT11 if you are using the DHT11 sensor instead of DHT22.
#include "DHT.h"
#include <LiquidCrystal_I2C.h>
LiquidCrystal_I2C lcd(0x27, 16, 2);
#define DHTPIN 12 // what pin we're connected to
//#define DHTTYPE DHT11 // DHT 11
#define DHTTYPE DHT22 // DHT 22
#define pwm 9
byte degree[8] =
{
0b00011,
0b00011,
0b00000,
0b00000,
0b00000,
0b00000,
0b00000,
0b00000
};
// Initialize DHT sensor for normal 16mhz Arduino
DHT dht(DHTPIN, DHTTYPE);
void setup() {
lcd.begin();
lcd.createChar(1, degree);
lcd.clear();
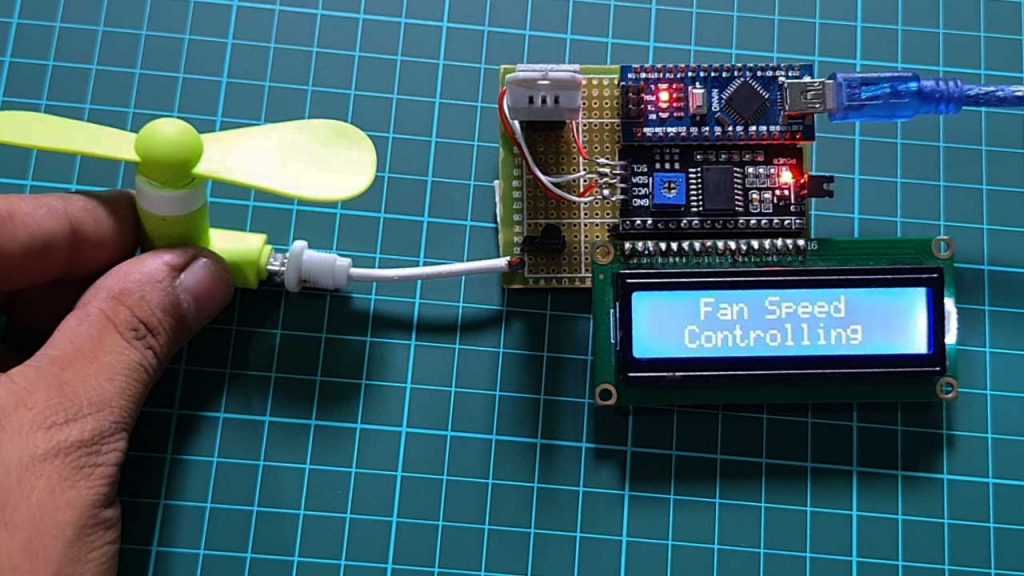
lcd.print(" Fan Speed ");
lcd.setCursor(0, 1);
lcd.print(" Controlling ");
delay(2000);
analogWrite(pwm, 255);
lcd.clear();
lcd.print("Using DHT Sensor");
lcd.setCursor(0, 1);
lcd.print("The IoT Projects");
delay(2000);
lcd.clear();
Serial.begin(9600);
dht.begin();
}
void loop() {
// Wait a few seconds between measurements.
delay(2000);
// Reading temperature or humidity takes about 250 milliseconds!
// Sensor readings may also be up to 2 seconds 'old' (its a very slow sensor)
float h = dht.readHumidity();
// Read temperature as Celsius
float t = dht.readTemperature();
// Check if any reads failed and exit early (to try again).
if (isnan(h) || isnan(t)) {
Serial.println("Failed to read from DHT sensor!");
return;
}
Serial.print("Humidity: ");
Serial.print(h);
Serial.print(" %t");
Serial.print("temperature: ");
Serial.print(t);
Serial.print(" *C ");
lcd.clear();
lcd.setCursor(0, 0);
lcd.print("temp: ");
lcd.print(t); // Printing terature on LCD
lcd.print(" *C");
lcd.setCursor(0, 1);
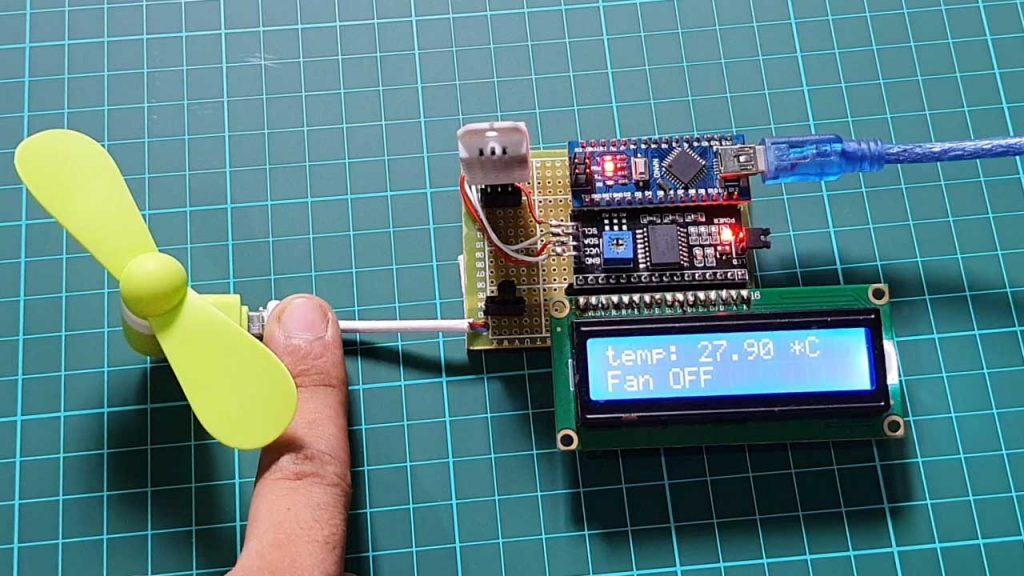
if (t < 28 )
{
analogWrite(9, 0);
lcd.print("Fan OFF ");
delay(100);
}
else if (t >= 28 && t <= 29)
{
analogWrite(pwm, 51);
lcd.print("Fan Speed: 20% ");
delay(100);
}
else if (t >= 29 && t <= 30)
{
analogWrite(pwm, 102);
lcd.print("Fan Speed: 40% ");
delay(100);
}
else if (t >= 30 && t <= 31)
{
analogWrite(pwm, 153);
lcd.print("Fan Speed: 60% ");
delay(100);
}
else if (t >= 31 && t <= 32)
{
analogWrite(pwm, 204);
lcd.print("Fan Speed: 80% ");
delay(100);
}
else if (t >= 32)
{
analogWrite(pwm, 255);
lcd.print("Fan Speed: 100% ");
delay(100);
}
delay(3000);
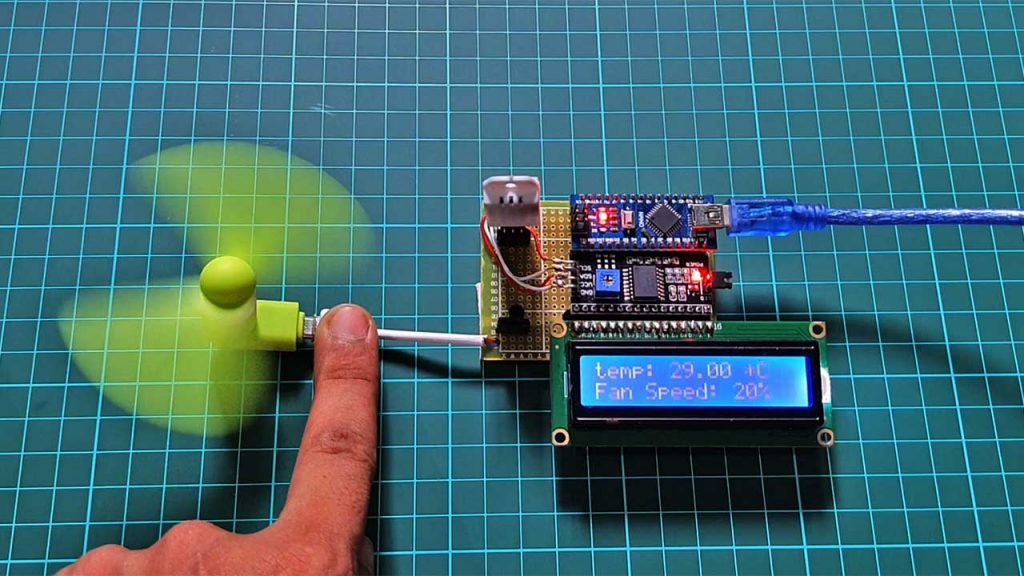
}Simply copy this program code. Customize the code to meet your requirements like desire temperature, PWM Signal, and fan speed, etc. Now, upload the code to your Arduino by selecting the correct board and its COM Port. Finally, we have made our own temperature-based automatic fan speed controller using Arduino and DHT sensors.
Video Tutorial & Guide
Conclusion
In this article, we learned about how we can make a Temperature Based Automatic Fan Speed Controller. Using an Arduino, DHT22 Temperature & Humidity Sensor, and a few other components. Which is pretty much useful in any place where temperature needs to be monitored and maintained at specific levels. Like in some server rooms, industries, houses, etc. We tested how it actually works and we also learned to code for a temperature-controlled fan. If you have any feedback, feel free to comment down below.


