ESP8266 based Coronavirus Tracker for your country
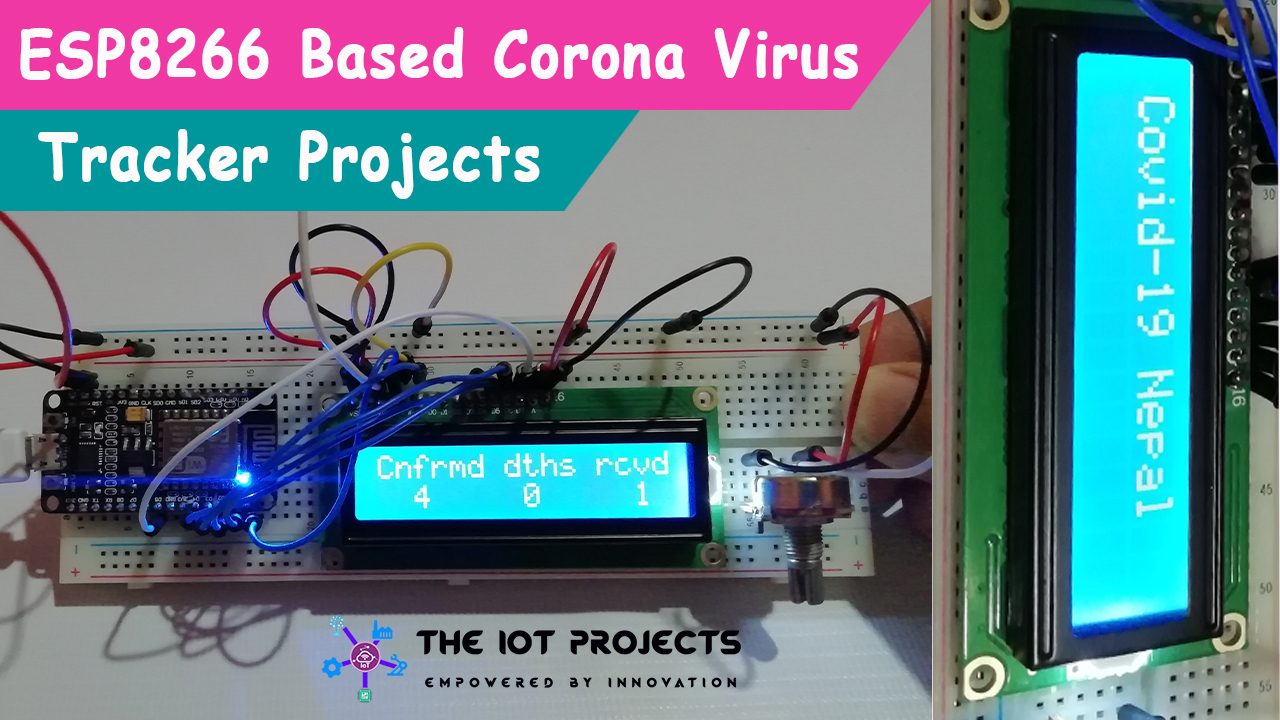
Hello everyone How are you doing? I hope you all are well and safe. So, this is a quick project on How to make ESP8266 based Coronavirus Tracker for your country. The main aim of this article is to inspire electronics enthusiasts and students to spend their valuable time at home by making some creative projects and enhance their skills.
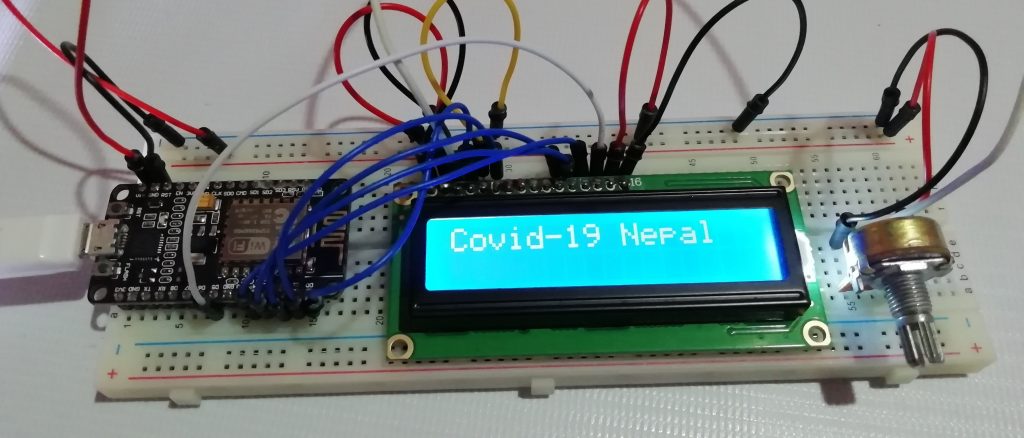
This is a simple, portable and quick project that keeps the track of Covid-19 outbreak of your country. It updates you about the total Number of Covid-19 Confirmed patients, Number of Deaths, and Recovered as well in a real Time.
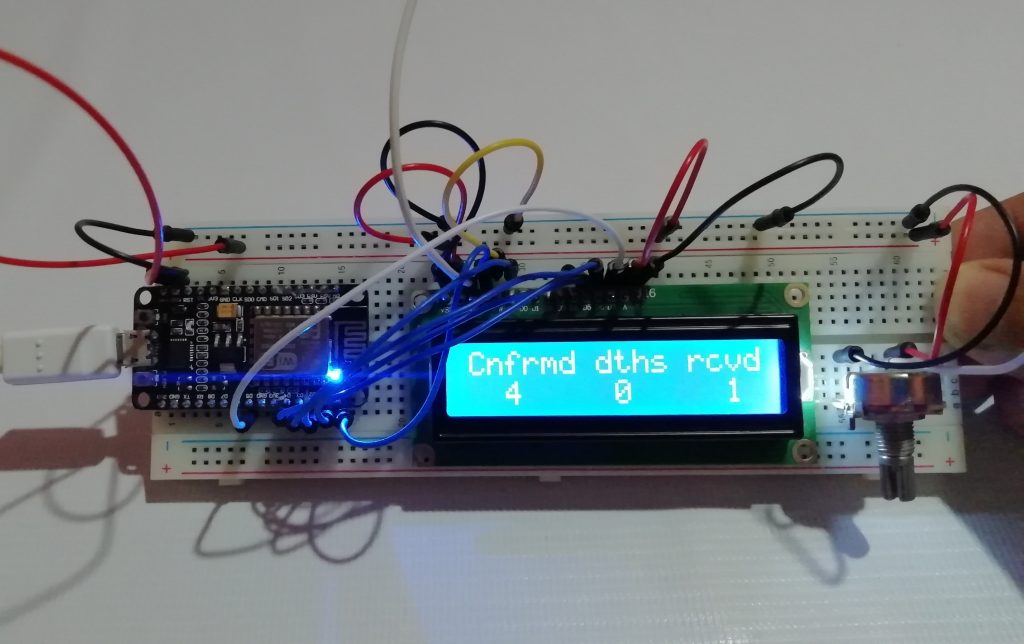
Here, on the above image, you can see the latest updates of my country where the Confirmed Patient is 4, 0 Deaths, and 1 Recovered. This simple tracker can be configured to display the details of your own country.
Also Read:
RFID Based Attendance System Using NodeMCU with PHP Web App
NodeMCU ESP8266 Monitoring DHT11/DHT22 Temperature and Humidity with Local Web Server
Simple Weather station using Arduino & BME280 Barometric Pressure Sensor
Home Automation with ESP8266 Web Server & Relay Module Control Appliances from Local Network
Story Behind this Coronavirus Tracker
With the lockdown in different countries. People are staying at home and making some exciting and Creative projects to avoid this dangerous virus. In this free time, I decided to spend my time learning something. So, I thought to make this simple project.
Note: Social Distancing, Washing Hands, and wearing a mask, are some advice that you should follow to Control the Spread of the Covid-19 Virus.
Requirements of Covid-19 Virus Tracker
In this Quick project, we are using the following components that are cheap and easily available:
- NodeMCU ESP8266
- 16×2 LCD Screen
- 10k Potentiometer
- Breadboard
- Jumper Wires
In this project, we are using NodeMCU ESP8266 as Microcontroller. 16×2 LCD to Display Virus Details and 10k potentiometer to adjust the contrast of the Screen. By Using Covid-19 API we have made a simple live updater. It is very easy to build, Simple and portable.
Circuit Diagram of Coronavirus Tracker
Here the connections are very simple, Firstly we will interface 16×2 LCD Screen to NodeMCU ESP8266 and then add a 10k potentiometer to adjust its contrast.
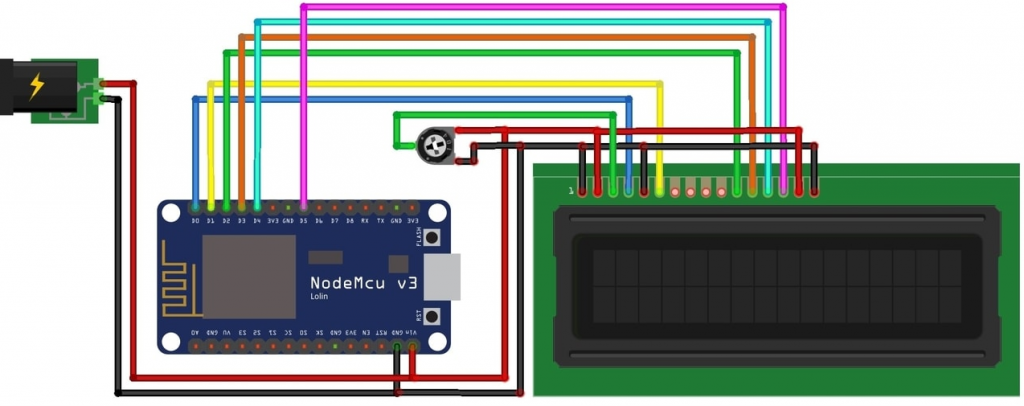
- Connect the RS Pin of the LCD to D0 pin of NodeMCU
- EN(Enable) Pin of LCD to D1 Pin of the NodeMCU
- Similarly, D4, D5, D6, and D7 pin of the LCD Screen to D2, D3, D4, and D5 GPIO Pin of the NodeMCU
- Now, its time to connect VSS, RW, and K pin of LCD to GND.
- Similarly, VDD and A Pin of LCD to the 5 volts.
- Connect the middle pin of the potentiometer to the Vo pin of the LCD
- Now connect the other two terminals of a potentiometer to GND and Vcc as shown in the Diagram.
- Finally, Provide 5 volts and GND to the breadboard from Vin and GND pin of the NodeMCU respectively.
Program Sketch/Code
Now, let’s move towards the programming part. Firstly, download the required file from the link provided below. Extract the zip file and open the corona.ino file in Arduino IDE. Similarly, Open the other wificonnect.h file in any text editor. For the demonstration, I am using a sublime text editor. However, You can use Notepad++ as well. Now, Edit the WiFi Credentials according to your wifi network and then save it.
Note: If you are using NodeMCU ESP8266 for the first time then you have to install board manager library files. You can read my previous article to know how it’s done? Or search on Youtube you will find lots of tutorials.
First, we need to include all the libraries. ESP8266Wifi library is used for TCP/IP Communication. Liquid Crystal library for LCD Display. Place these wifiConnect.h and json_parser.h two files under the same folder. Other Wise you will get errors.
#include <ESP8266HTTPClient.h>
#include <LiquidCrystal.h>
#include "json_parser.h"
#include "WifiConnect.h"
Define country code link:http://coronavirus-19-api.herokuapp.com/countries
#define country_code "Nepal" //* My Country is NepalOn the code Sketch, you have to define your country code. To know your country code. Simply follow the above link. Now press the Control + F and type your country name to find your country code. MAC users can press Command + F in the same way. Finally, copy that code and paste it on the Arduino IDE code as I did it here.
Final Program/sketch
#include <ESP8266HTTPClient.h>
#include <LiquidCrystal.h>
#include "json_parser.h"
#include "WifiConnect.h"

#define s2ms(second) (second*1000)
unsigned long long prev_millis(0);

#define country_code "Nepal"

LiquidCrystal lcd(D0, D1, D2, D3, D4, D5);

int interval = s2ms(60);
unsigned long long PreviousMillis = 0;
unsigned long long CurrentMillis = interval;
bool bFirstKickMillis = false;

extern bool bGotIpFlag;

static String build_url_from_country(String country)
{
  String url = "http://coronavirus-19-api.herokuapp.com/countries/";
  url = url + country;
  return url;
}

void setup(void)
{
  lcd.begin(16, 2);
  lcd.setCursor(0, 0);
  lcd.print("Covid-19 Nepal");
#if defined JSON_DEBUG
  Serial.begin(9600);
#endif

  JSON_LOG("Connecting...");

  vConnWifiNetworkViaSdk();
}

void loop()
{
  if (bGotIpFlag) bGotIp();

  if (bFirstKickMillis) CurrentMillis = millis();

  if (!bGotIpFlag && CurrentMillis - PreviousMillis >= interval)
  {
    if (!bFirstKickMillis) CurrentMillis = 0;

    bFirstKickMillis = true;

    PreviousMillis = CurrentMillis;

    HTTPClient http;
    http.begin(build_url_from_country(country_code));

    int httpCode = http.GET();

    if (httpCode > 0)
    {
      String payload = http.getString();

      char* JsonArray = (char *)malloc(payload.length() + 1);
      if (!JsonArray) JSON_LOG("upssss fuck");

      payload.toCharArray(JsonArray, payload.length() + 1);

      JSON_LOG(JsonArray);

      if (json_validate(JsonArray))
      {
        int confirmed = (int)get_json_value(JsonArray, "cases", INT);
        int deaths = (int)get_json_value(JsonArray, "deaths", INT);
        int recovered = (int)get_json_value(JsonArray, "recovered", INT);

        JSON_LOG(confirmed);
        JSON_LOG(deaths);
        JSON_LOG(recovered);

        lcd.clear();
        lcd.print("Cnfrmd");
        lcd.setCursor(7, 0);
        lcd.print("dths");
        lcd.setCursor(12, 0);
        lcd.print("rcvd");
        lcd.setCursor(2, 1);
        lcd.print(confirmed);
        lcd.setCursor(8, 1);
        lcd.print(deaths);
        lcd.setCursor(14, 1);
        lcd.print(recovered);

      }

      free(JsonArray);
    }

    http.end();
  }
}
At the END choose your NodeMCU ESP 8266 Board and COM Port from Tools Menu. Finally, Compile the code and upload it to the NodeMCU ESp8266 board. Basically, you can open the serial monitor to see the details of the Corona Virus Patients in real-time.
Video Tutorial
Conclusion:
We have completed the simple, cheap, and quick ESP8266 based Coronavirus Tracker for your country project. This simple project can be configured to display the details of your own country. Also at the end, I will advise you all ladies and gentlemen to stay at home Quarantine. However, you can spend this free time in reading, enhancing your skills, and do some creative projects. As one of the famous Chinese proverbs says that “Crisis comes with opportunities”. Hence, this is the best time to come up with ideas. Always use your skills and ideas to implement then in your real life.
I hope you enjoyed reading this article. A huge thanks to Volkan Unal for helping me out.
Other ESP8266 Based Projects Resources:
ESP8266 based IoT Health Care Panic Alarm for Elderly Folks
IoT Based RFID Smart Door Lock System Using NodeMCU ESp8266
ESP8266 Plot Sensor readings to Webserver in Real-Time Chart


Having problem in Json library. not working, when tried ArduinoJson then it gives error of’JSON_LOG’ was not declared in this scope . Please help
ArduinoJson is not required. Did you placed all the file including Json Parser.h in same folder. You can download project file from here:https://iotprojectsideas.com/wp-content/uploads/2020/03/ESP8266-based-Coronavirus-Tracker-for-your-country.zip