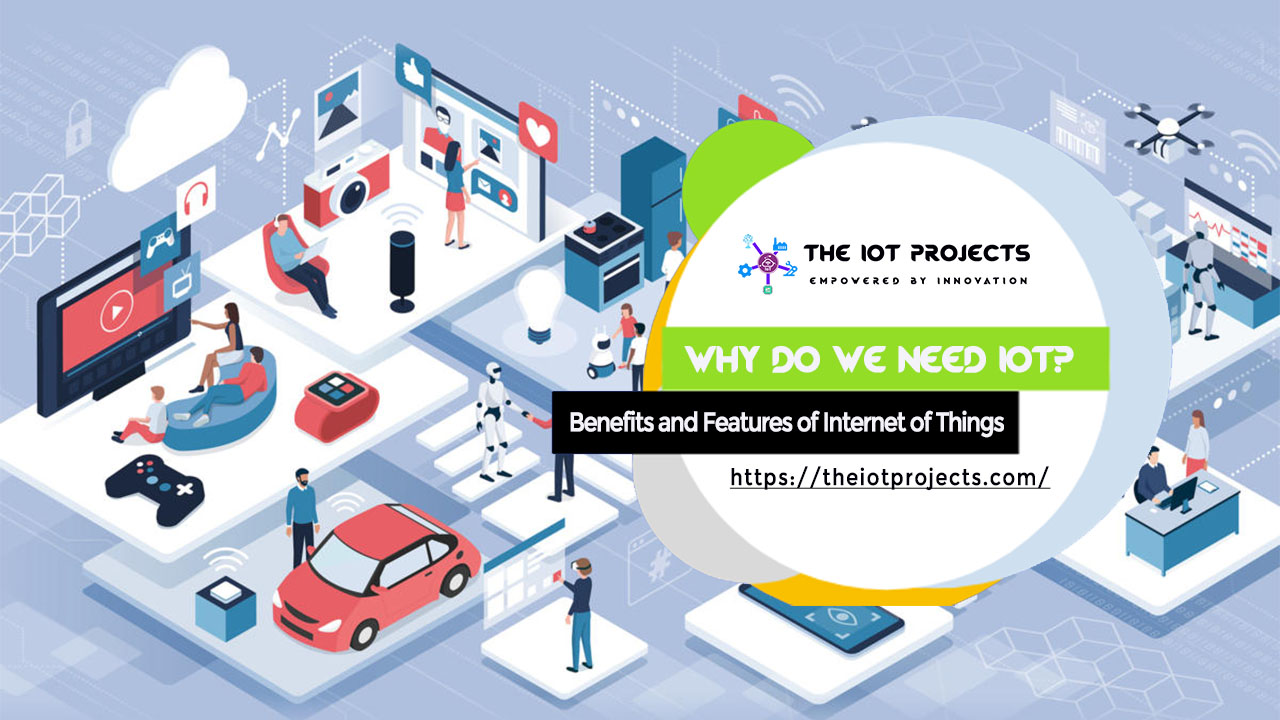
Why do we need an Internet of Things?
Now to help you understand why Internet of Things is important? let’s look at an example.
Suppose there is a patient at home wearing constant life-support. His status is being checked to a health monitoring system present on the cloud. Let’s say at a point there is a certain issue with respect to his health.
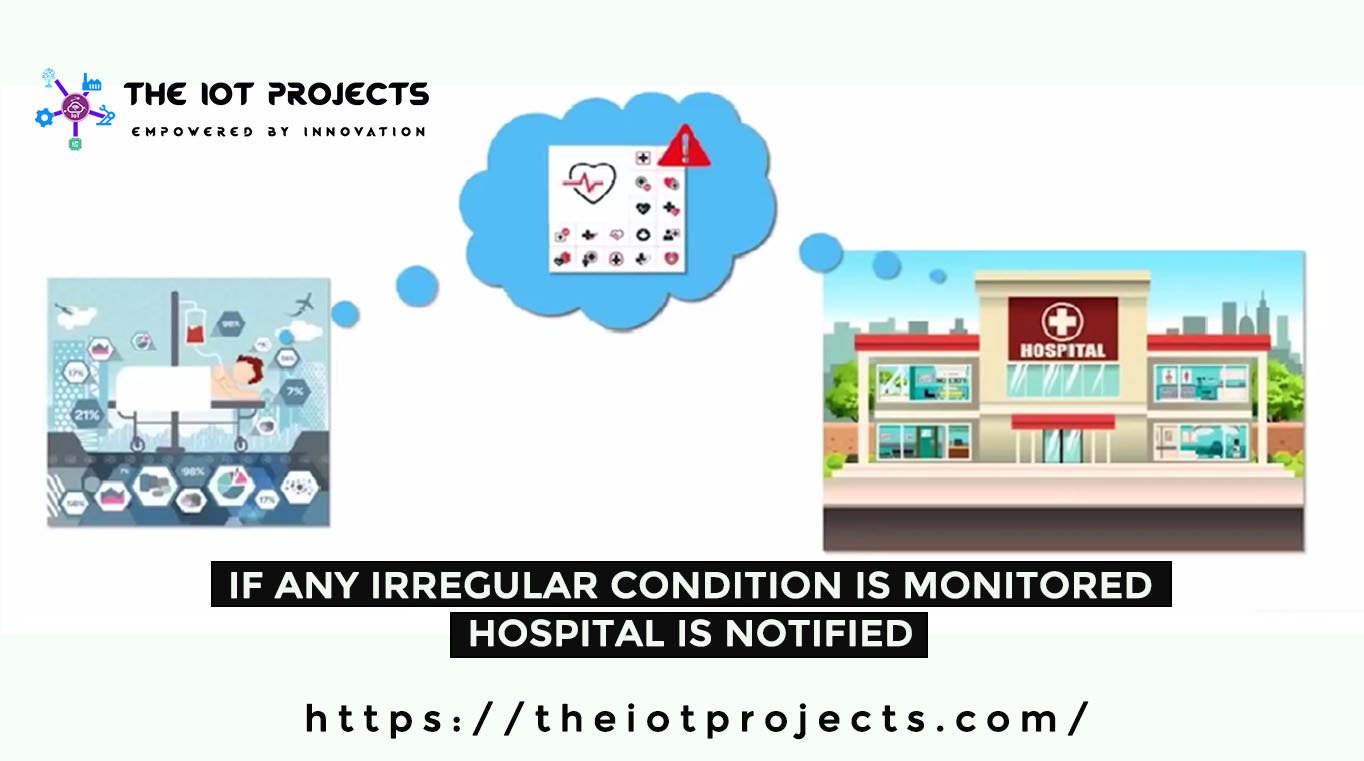
Let us suppose there’s some irregularity with his heartbeat or his blood pressure is low. There’s some fluid being developed or so far. Now what? Offenses. Since the system on the cloud is connected to a hospital as well. This information would get passed on to the hospital as well. Now Doctors would get the complete details with respect to the patient. Similarly, the important information with respect to the current situation of the patient as well. We made it aware with respect to what issue exactly is the patient facing. As well as enable them to dispatch an ambulance immediately to bring the patient back to the hospital as well.
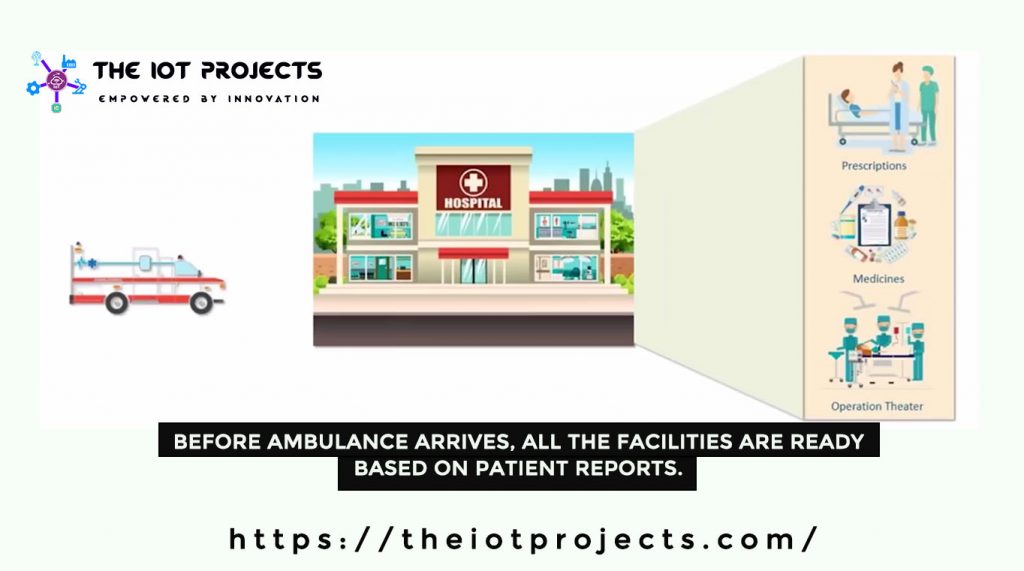
Now meanwhile, once the patient has been picked up and brought back to the hospital there could be prescriptions. There could be medicine. Even the operating theater could be made ready in case of an emergency situation as well. There will be doctors on standby who have the complete history of the patient. They have the complete details of the present condition of the patient as well. So this in turn brings in a lot of transparency and reduces a lot of effort and time involved.
With respect to this same thing. Let’s take a look in today’s scenario. There has to be someone monitoring this patient’s health. If there’s a fluctuation they need to call the hospital, they need to call request for an ambulance. And meanwhile, once the ambulance is here. They take the patient back into the hospital. Now, again there needs to be a lot of checkups, that are needed to be done because the doctors are not fully aware.There is a lot of tests that need to be run and this in turn leads a lot of delay. In certain emergency cases the patient get expired.
This is exactly where our future lies in and what we have to definitely move forward too. Now Internet of Things basically is expanding the interdependence of humans to interact, contribute and collaborate with things around us.
What do I mean by interdependence of human?
Let’s see, how we depend on each other? Like How I’m explaining this concept to you? If you’re not clear you would reach back to me. You would request me for help by commenting down below. Okay, this becomes an interdependence between us. Similarly, if there’s something that you can do for me, I would reach out to you.
We all are interdependent on each other for something. If we can expand this interdependence to Interact, Collaborate and Contribute with respect to the different things around us, then we would be building a proper Internet of Things environment. This would be a much safer, secure, effortless, and time-saving environment into existence.
Benefits of IoT
Let’s Talk about the various benefits of Internet of things.
- Efficient Resource Utilization
- Minimizing Human Effort
- It Saves Time
- Development of AI through IoT
Efficient Resource Utilization
The first thing that would be as a benefit of having an Internet of Things platform is that you could efficiently utilize the resources that are available. Suppose I have a smart system which can interact with everything. It has enough computational power and enough understanding of how things work between each other. I’m quite sure the usage of the resources available will be more efficient as well. This resource could be in terms of monetary or in terms of natural resources. Okay. So all this can be more efficient if I have a platform which is more smarter and interconnected as well.
Minimizing Human Effort
Apart from this, it minimizes the human effort involved. If my system is smart enough to do all the things that I do need to get involved with, then obviously, my interaction is always going to be minimum. Hence, this is one of the major reasons why Internet of Things has become popular today. So, the concept of smart home is always growing as well in the same perspective. Because, if the system itself is able to do most of my work at home then I don’t need to put in much effort. I can relax at home without having to worry about anything.
It Saves Time
Okay, the next benefit would be time saving. If it decreases my human effort, it is definitely going to save my time. Okay apart from that if the resources are utilized more efficiently, then again, it is going to save a lot more time. All-in-all any benefit of Internet of things, will in turn helps you to save a lot of time as well. So time is one of the major factors that can be saved on an Internet of Things platform.
Development of AI through IoT
Now if I have an artificial intelligence platform. Through which all things are managed and maintained, then the personalization and the human touch also comes into the picture. Now today most of us have/had a level of interaction with an artificial intelligence or a virtual intelligence as well.
This could be a personal assistant like Siri or Google assistant. Now if I have a system where all these components and things are interconnected. Then in turn, all the security present on each of these things is going to get multiplied and it’s going to build a much more secure system. Apart from that, the level of security that we would be integrating to the platform in itself is going to be quite huge. So the overall security booth respect to everything is going to increase multiple times as well.
Features of IoT
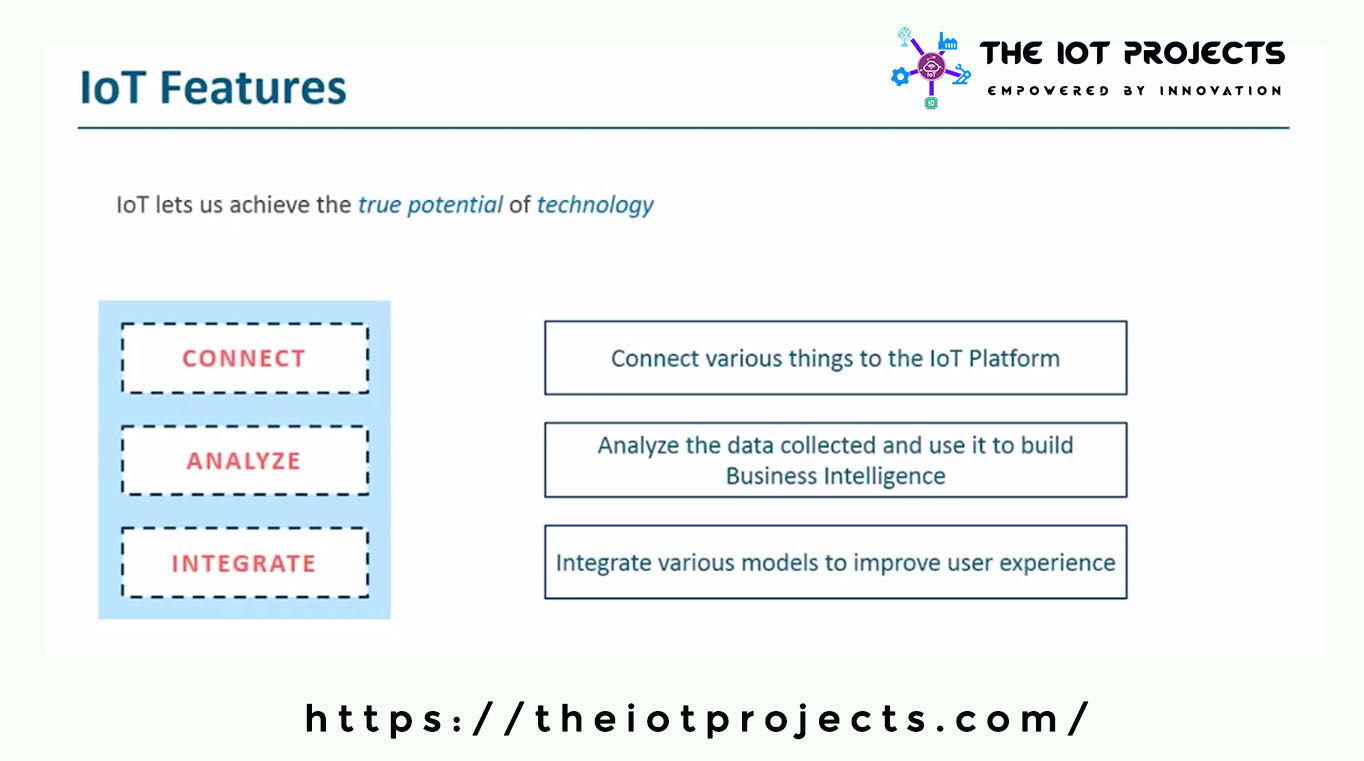
Now let’s look at some of the major features of Internet of things. Any technology that is available today has not reached its 100% capabilities and it always has that Gap to grow. Internet of Things is one of the major Technologies in the world today. That can help any other technology to reach its peak and complete potential as well. Now there are mainly three aspects to Internet of Things.
- Connect
- Analyze
- Integrate
Connect
Basically, what you need to work on is, you need to ensure that there is a connectivity between all the things around to The Internet of Things platform.
Analyze
Okay, I have my things around me. They each are going to generate some amount of data. Now this data needs to be collected and it needs to be analyzed to build a business intelligence solution. If I have a good insight, the data is gathered from all the things. So definitely, I can call my system as a smart system.
Integrate
Finally, in order to improvise and improve your system you need to integrate it with various models to improve the users experience as well. Let’s say there’s a personalization module. that is going to be an aspect when I can directly connect to my providers. Now. This provider could be Amazon, Flipkart or a retail store that is next to me. Let’s take an example:
Suppose, there is no milk in my house. The retail store will get a notification and he would send milk right away. Similarly, the same thing can be done, Let’s say I have my coffee machine which requires special beans. The beans is about to complete than what my system could do is? It could go online to Amazon and purchase these beans for me as well.
So there are a lot of things that we can do. when we integrate this with respect to various models and improve the overall experience to a single user or a group of users.
Conclusion:
This actually is the front face of your entire IoT architecture.I hope you at least have an idea of what the entire skeleton of your IoT architecture comprises of? Basically, what we have discussed here is just the skeleton. It’s always up to the user to add Muscles to it and complete it with a skin as per your requirement.