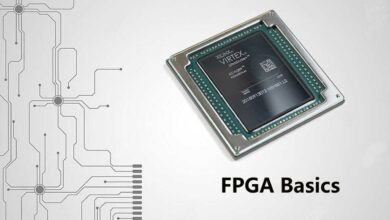
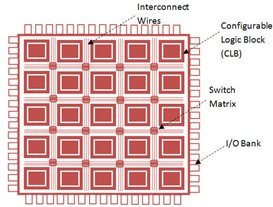
Overview of FPGA
Configurable logic components and memory are features of FPGA devices. A general-purpose FPGA can be set up to run and support a variety of applications as needed. To ensure that the FPGA is compatible with particular systems, the end-user can build a variety of hardware designs thanks to the modularity of FPGA designs. Hardware description languages like Verilog HDL, VHDL, and SystemC can be used by the end-user or programmer to implement the hardware design.
FPGA devices also include embedded memory, ARM Cortex-M embedded processors, and DSP blocks, creating a stand-alone system with a specific function. For instance, an FPGA device that can manage enormous data sets can operate without the need for additional memory devices. Due to the versatility of the FPGA’s design, designers have the option of implementing the system components of the FPGA in the embedded processor or developing hardware components by exploiting its general logic capabilities.
Overview of DSP
The name “digital signal processing,” or DSP, should be rather self-explanatory. The technology is present in many different products, including headphones, cellphones, smart speakers, studio audio gear, in-car entertainment systems, and many more. In fact, it forms the foundation for modern audio products.
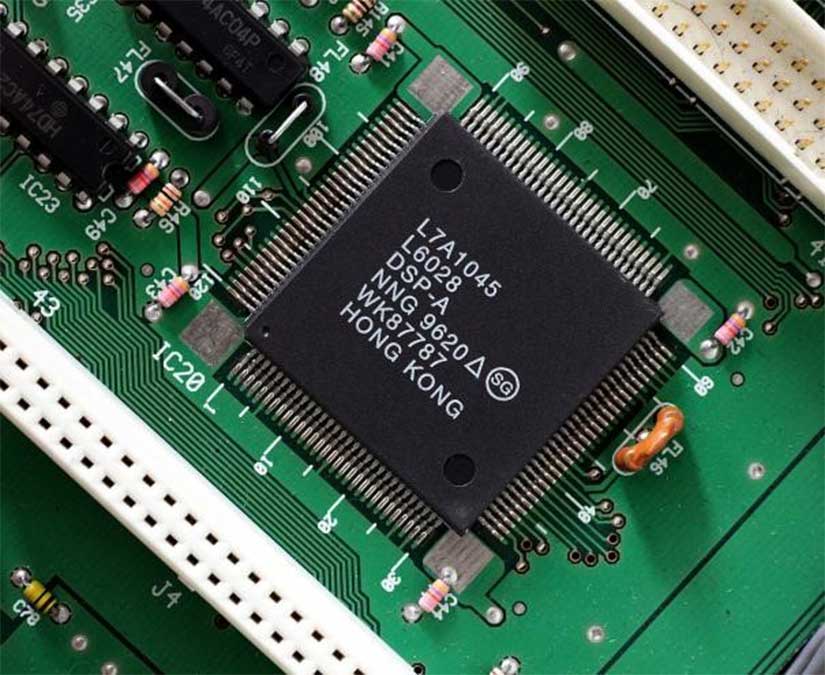
You already understand the idea of a processor because CPUs are designed to do various tasks. An electronic device called a DSP is used to examine digital signals, including audio. They are designed to operate fast and effectively on mathematical operations like addition and subtraction. DSP chips come in a variety of sizes, price points, and performance levels. scaling down from multi-channel processors in cars and high-end studio gear to tiny low-power chips for voice recognition in smart speakers. They are used to execute audio-related algorithms more quickly while using less energy than a standard CPU. FPGA and DSP all belong to Embedded IC which is the fundamental building block of all modern electronic devices. As the name implies, it is an integrated system made up of numerous connected, tiny components that are embedded within a thin semiconductor substrate.
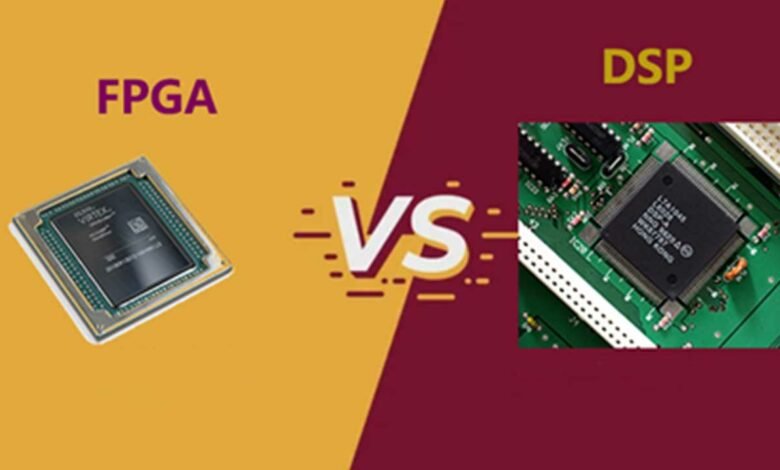
FPAG Structure vs DSP Structure
FPAG Structure
The implementation method is primarily SRAM, and the chip contains a sizable number of logic gates and flip-flops, the majority of which are look-up table structures. large scale, high integration, quick processing, and efficient execution. It can finish complicated sequential logic designs, and the programming is adaptable, practical, straightforward, and repeatable. Numerous FPGAs can be programmed indefinitely and repeatedly. Hardware overhead can be decreased by reconfiguration. The drawbacks include the fact that the initial logic configuration is typically lost following a power outage, that timing is challenging to design, that it cannot handle numerous events, and that it is unsuitable for conditional operation.
DSP Structure
The revised Harvard structure has data and software isolated from one another. To expedite the execution of instructions, the Harvard structure of DSP is used. Reducing the time it takes for each instruction to be executed by using pipeline technology. a multi-bus on-chip that can handle simultaneous data access and fetching of instructions. Multiplication and accumulation can both be performed in the same cycle using an independent accumulator and adder. DSP is practical for data transmission because it has a serial communication interface and a DMA channel controller. It is simple to create a small-scale system using an interrupt processor and timing controller. The DSP can communicate with different memories while the software and hardware wait for their functions.
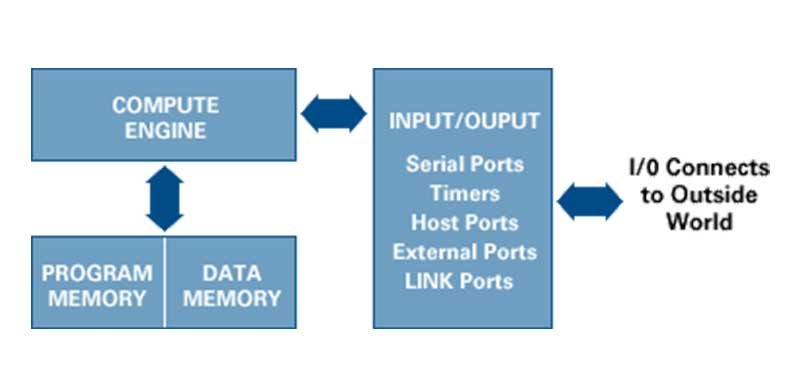
The primary function of a DSP, a unique microprocessor, is calculating. The flexibility of the software is a benefit. Appropriate for conditional procedures, particularly challenging multi-algorithm tasks. DSP leverages high-level programming languages like C or assembly for real-time program implementation. Therefore, using DSP devices has the advantage of quick software updates, which considerably enhances the system’s dependability, variety, replaceability, and flexibility. Disadvantages: A DSP is limited by the serial instruction stream; at sampling rates of more than a few MHZ, it can only do very basic calculations on the data; lengthy development cycle.
FPGA internal resource vs DSP internal resource
FPGA internal resource
The construction of hardware circuits with a specific purpose is the emphasis of FPGA. The internal resources are tiny components like ActelFPGA VersaTIles. The design description of the hardware circuit is first implemented on the FPGA’s internal units using the HDL programming language. The signals inside and between the functional modules are connected by the wiring resources inside the FPGA to create a larger module. FPGA may internally implement digital circuits such as ALU, adder, multiplier, accumulator, FIFO, SRAM, DDR controller, FFT, HDLC, DMA, and PWM, therefore we must use it to construct a particular or general hardware function. One or more modules must use HDL to describe the design and implementation in detail.
DSP internal resource
DSP is mostly used for processing algorithms. Multipliers, adders, and other resources make up the majority of the internal resources. There are interfaces like SPI and UART that only take a specific set of commands. Internal resources are prepared and just need to be rearranged to meet client needs. Customers find it easy to use, but because it only does a few particular tasks, it is mostly employed in a few niche industries. In addition, DSPs incorporate a phase-locked loop, a counter, a baudrate generator, and in certain cases, analog ADC interfaces.
FPGA vs DSP programming language
FPGA programming language
VHDL and VERILOG are two programming and development languages for FPGA. Currently, Europe utilizes more VHDL, while the US and Japan use more VERILOG. In addition, the VERILOG and C languages are not too dissimilar. Verilog HDL can be used if you are comfortable with C. VHDL is a relatively strict language, yet core grammar and C are quite close and flexible.
According to my perspective, there are not many distinctions between VHDL and VERILOG, and they both have similar description capabilities. Following the mastery of one of these languages, beginners can swiftly pick up another language through short-term learning. To make future learning and communication easier, language selection mostly depends on the dialectal preferences of the community. Naturally, learning Verilog is a prerequisite for professional integrated circuit designers since more than 90% of businesses in this industry employ Verilog for IC design. There are two languages available to PLD/FPGA designers.
DSP programming language
DSP applications are typically programmed in C, BASIC, and assembly, the same languages used for other science and engineering jobs. Computer scientists and other expert programmers favor C because of its strength and adaptability.
FPGA vs DSP Characteristics
| DSP | FPGA | |
| Programming language | C is an assembly language used in DSP programming. | HDL, a mixed digital and analog description language that includes VHDL, Verilog, and Verilog-AMS, is mostly used by FPGAs. |
| Applicable occasions | DSP is appropriate for systems with low sampling rates, low data rates, multi-condition operation, processing sophisticated multi-arithmetic jobs, employing C programming, and using floating point. It is also appropriate for systems with multi-condition operation. | FPAG is appropriate for fixed or recurring processing jobs, fixed-point use, block diagram programming, high data rates, and systems with high-speed sampling rates (a few MHZ). |
| Characteristics | Rigid hardware and insufficient computer power. An increase in the system’s DSP count is necessary to boost its performance capabilities. | It is a working system with expandable computing capacity thanks to flexible hardware, integrated memory, and embedded CPUs. |
| Cost | Application-specific DSPs are pricey compared to generic DSPs, which are quite inexpensive. DSP reconfiguration is likewise an expensive operation. | FPGAs can be modified to work with a variety of applications. They are simple to utilize due to their versatility. |
Conclusion of FPGA vs DSP
FPGA and DSP are two very distinct methods of signal processing, each of which excels in a different area. An FPGA can readily handle a variety of high-sampling rate applications that the DSP cannot. A lot of difficult software issues are also intractable by the FPGA. Therefore, the optimum system frequently involves dividing the workload between FPGAs and DSPs. The HERON system makes this simple to achieve, and in many cases, it can be done with just I/O and CPU modules without the need for a specific FPGA component.